Create New + Use Templates
Creating Your First Newsletter
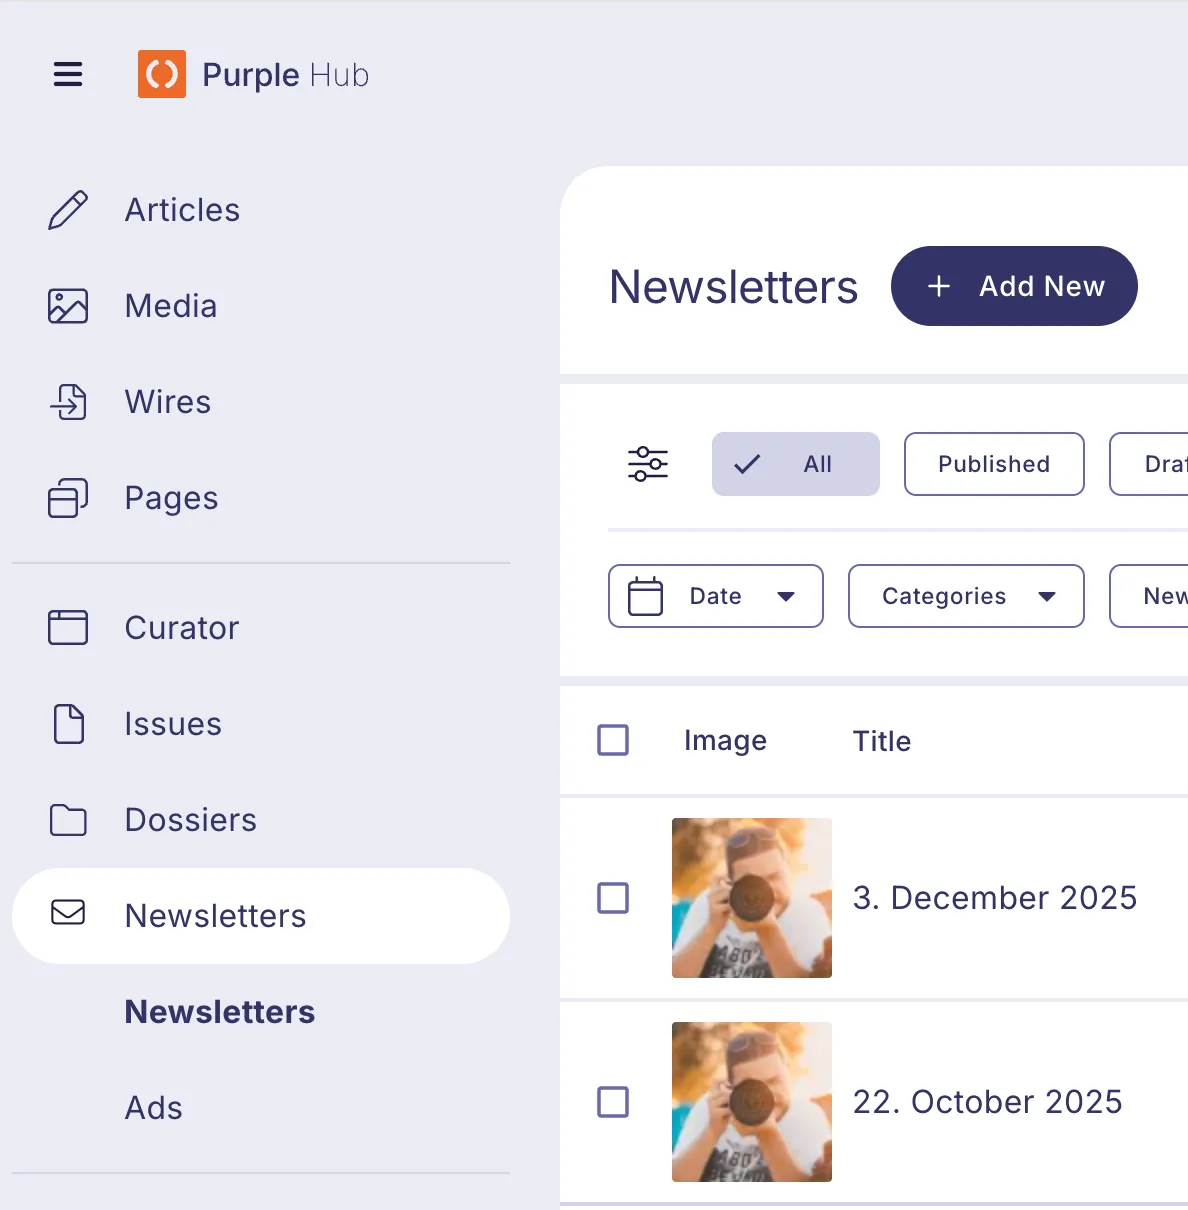
1. Access Newsletter Creation
- Navigate to the sidebar menu
- Under All Articles, find the new entry Newsletters
- Click Add New or Open a Newsletter
2. Choose a Starting Layout
When creating a new newsletter, you'll be prompted to select a layout:
- Prebuilt example layouts - These are always available from the plugin
- Saved custom layouts - Your previously saved templates (if any)
- Blank newsletter - Start from scratch

3. Manage Layouts
In this view you also delete your saved layouts.
Creating Custom Templates
1. Build Your Newsletter Design
Start with either a blank newsletter or modify an existing example layout:
- Adjust colors, fonts, and spacing
- Add your branding elements
- Structure the content blocks as needed
You can also already insert some "Post Inserter" blocks at the intended locations, and preconfigure them to show the parts of posts that should be visible at that place. See also Post Inserter Block Customization.
2. Access Newsletter Styles
Click the small icon in the top-right corner to open the Newsletter Styles panel where you can adjust:
- Font selection
- Background colors
- Text colors
- Overall newsletter styling (with global Custom CSS)

3. Use Custom CSS
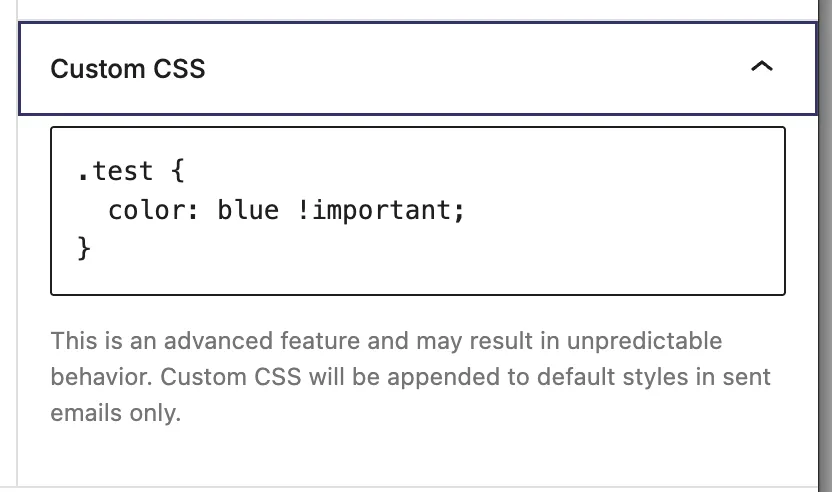
In the Newsletter styles you can create your own Custom CSS classes. It is possible then to apply that CSS class to blocks in the newsletter. Custom CSS in Styles sidebar:
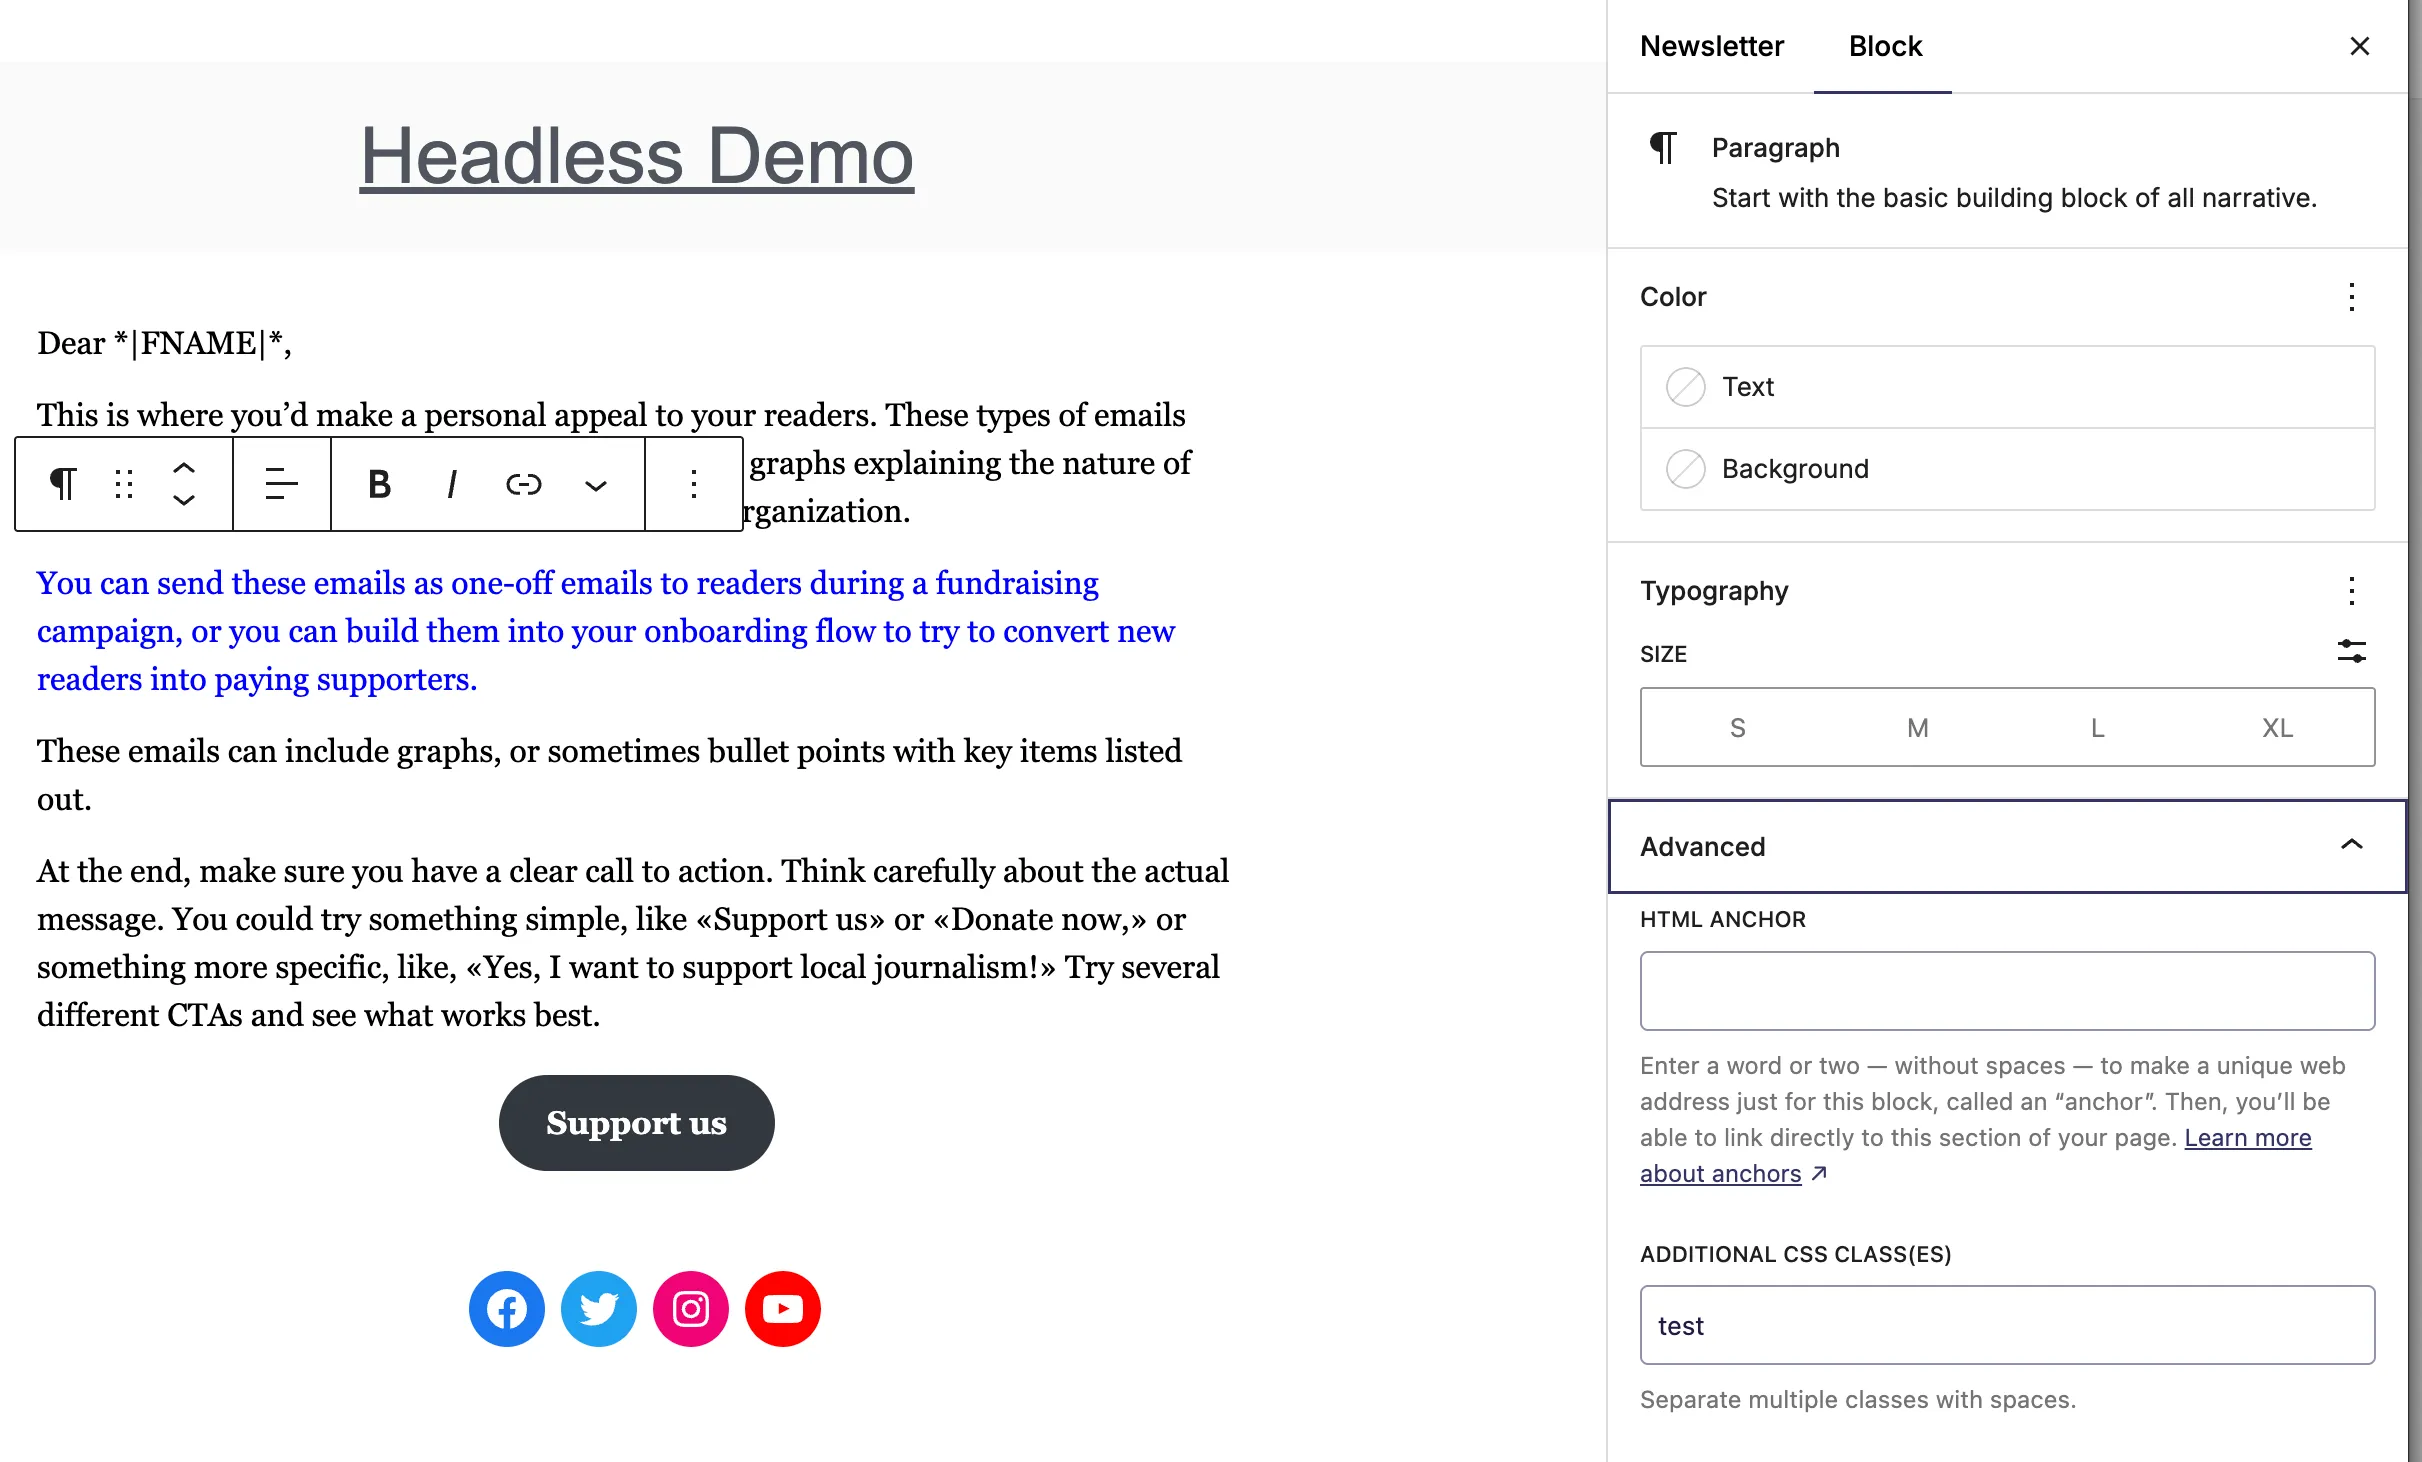
The created global css classes can then be used in each block in the Newsletter. Click on a block in the newsletter, the sidepanel of the Block opens. In the sidepanel of the block go to Advanced, then then add your created CSS class to the field 'ADDITIONAL CSS CLASS(ES)".
4. Save as Template
Once your design is complete:
- In the sidebar, locate the Layout menu item
- Click Save new layout
- Give your template a descriptive name
- The layout is now saved for future use and can be found under saved layouts.
